- Published on
- View count
How to Create a VS Code Dev Container for Your Next.js App
- Authors

- Name
- Vishwajeet Yadav
- @vishwaj33t
Why Bother With a Dev Container?
Have you ever tried to run a project on your machine and been hit with a wall of errors because you have the wrong version of Node.js or some other tool installed? It's a frustrating and common problem. This is where Development Containers come to the rescue.
A dev container is a fully-featured development environment that runs inside a Docker container. Think of it like having a fresh, perfectly configured computer for every single project you work on. It ensures that you and everyone on your team are using the exact same set of tools and versions, which eliminates a ton of "it works on my machine" headaches.
In this guide, we'll walk through how to set up a simple and clean dev container in VS Code specifically for a Next.js application, giving you the power and portability of Docker with the comfort and features of your favorite editor.
What You'll Get
This setup is designed to be minimal but powerful, giving you everything you need to get started:
- Node.js & TypeScript: The core of any modern Next.js project.
- Docker: The container technology that makes this all possible.
- Git: Full Git integration, right inside the container.
- Fast Refresh: Next.js's instant feedback feature works perfectly.
Before You Start: The Prerequisites
To get this working, you'll need a couple of things installed on your main computer (your "host" machine):
- VS Code: The code editor we'll be using.
- The Dev Containers extension for VS Code: This is the magic that connects VS Code to the Docker container.
- Docker Desktop: The application that manages and runs your containers.
- Git: You'll need Git installed on your host machine. It's also a good idea to set up the Git Credential Manager, which allows the container to securely use the Git credentials from your host machine.
Let's Build the Dev Environment
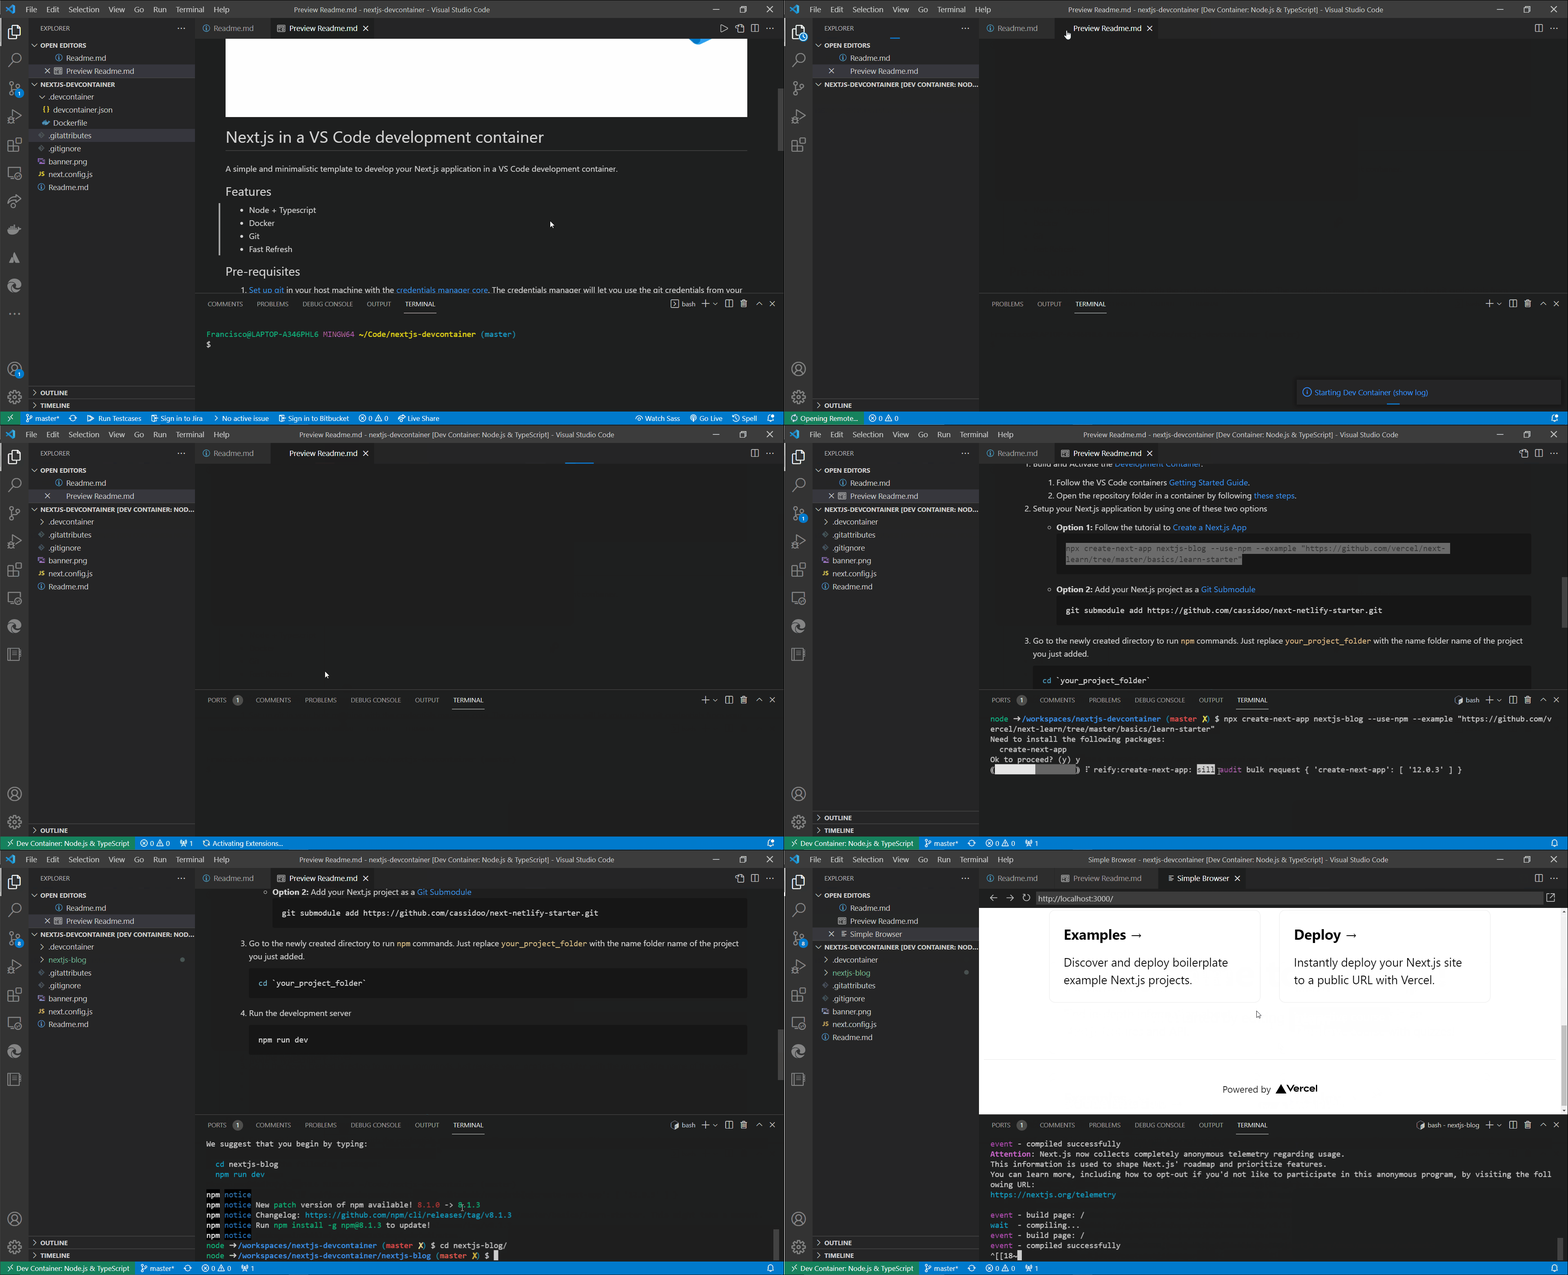
The first step is to get the dev container up and running. The VS Code documentation has a fantastic Getting Started Guide for this.
The easiest way is to use the "Dev Containers: Open Folder in Container..." command from the VS Code Command Palette (you can open it with Ctrl+Shift+P or Cmd+Shift+P). When you run this on your project folder, VS Code will look for a special .devcontainer folder. If it doesn't find one, it will help you create one. This folder will contain the configuration files that tell VS Code how to build and set up your development environment.
Setting Up Your Next.js App
Once VS Code has built and connected to your container, you'll have a terminal that is running inside the container. From here, you can set up your Next.js project. You have two main options.
Option 1: Create a New App You can use the standard create-next-app command to start a fresh project. This is the best option if you're starting from scratch.
npx create-next-app@latest my-nextjs-blogOption 2: Add an Existing Project If you already have a Next.js project in a Git repository, you can add it to your workspace as a Git Submodule. This is a great way to keep your dev container configuration separate from your application code.
git submodule add https://github.com/your-username/your-repo.gitRunning Your App
After setting up your project, navigate into its directory in the container's terminal:
cd my-nextjs-blogNow, you can run the development server just like you would on your local machine:
npm run devVS Code will automatically forward the port from the container to your local machine, so you can open your browser and go to http://localhost:3000 to see your Next.js app running live from inside the container!

And that's it! You now have a clean, portable, and fully-featured development environment for your Next.js application.